What are you searching for?
Installing Vectorworks
Last update:
24/11/2025
After downloading your Vectorworks Install Manager, you are ready to install your design software. To do this, follow the instructions below:
- Open the Vectorworks installer:
- Windows: Double-click on the .exe file.
- MacOS: Double-click the .zip file to unzip it. Then double-click on the app.
- Click ‘Let's Get Started’ at the bottom right.

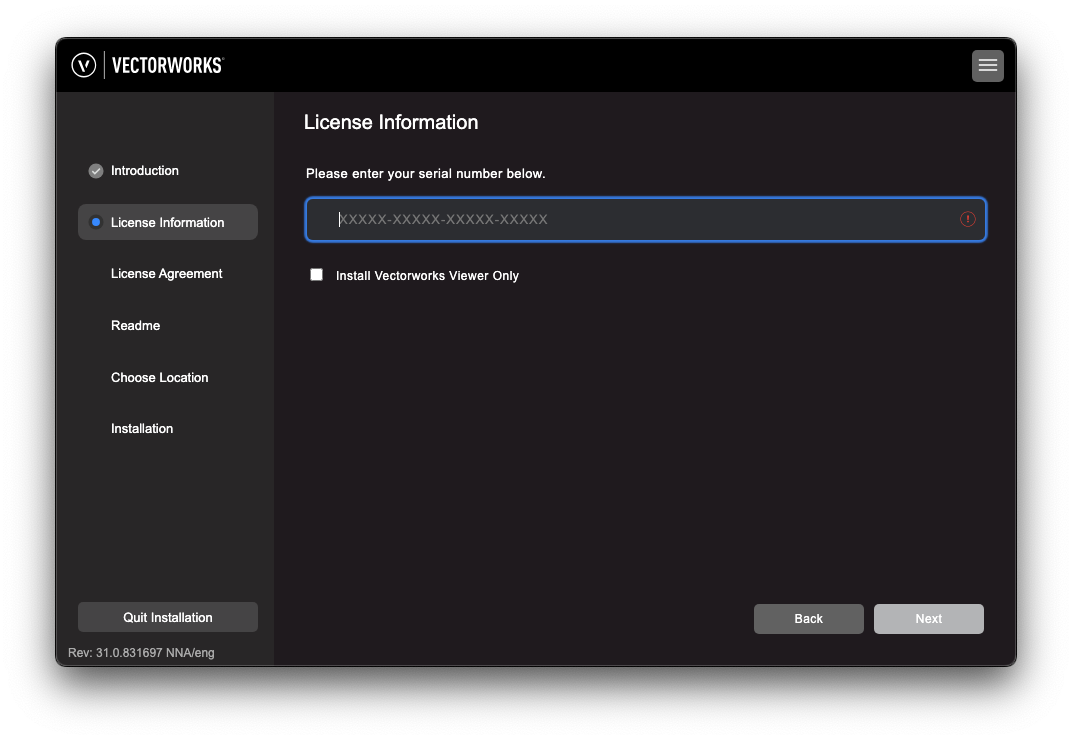
- Enter the correct serial number. If you are not sure, look here for the serial number you need for getting started.
- For a full demo version that can be used without restrictions for 7 days, please contact the sales team in the Netherlands, Belgium (NL/FR), France or Poland.
- Click ‘Next’.

- Read the License Agreement, check the approval, and click ‘Next’.

- Review the Readme document and click ‘Next’.

- Vectorworks now creates a program folder. For macOS, the standard location is under Applications, and on Windows under Program Files. This is the optimal location for your software, so there is no need to move or change it.
- Help improve your Vectorworks version by checking ‘Yes, I would like to help Vectorworks improve my experience by collecting user data’. Vectorworks will not collect any personal data, only information about the program’s internal processes. Click ‘Install’.

- Your Vectorworks version will now be installed on your computer. Make sure you have a stable Internet connection for easy installation. When the installer is ready, you can start Vectorworks immediately. Enjoy designing!


