What are you searching for?
Migrating Vectorworks libraries
Last update:
6/2/2025
Libraries created in a previous Vectorworks version can be converted to your current Vectorworks. The Migration Manager allows this conversion to proceed smoothly.
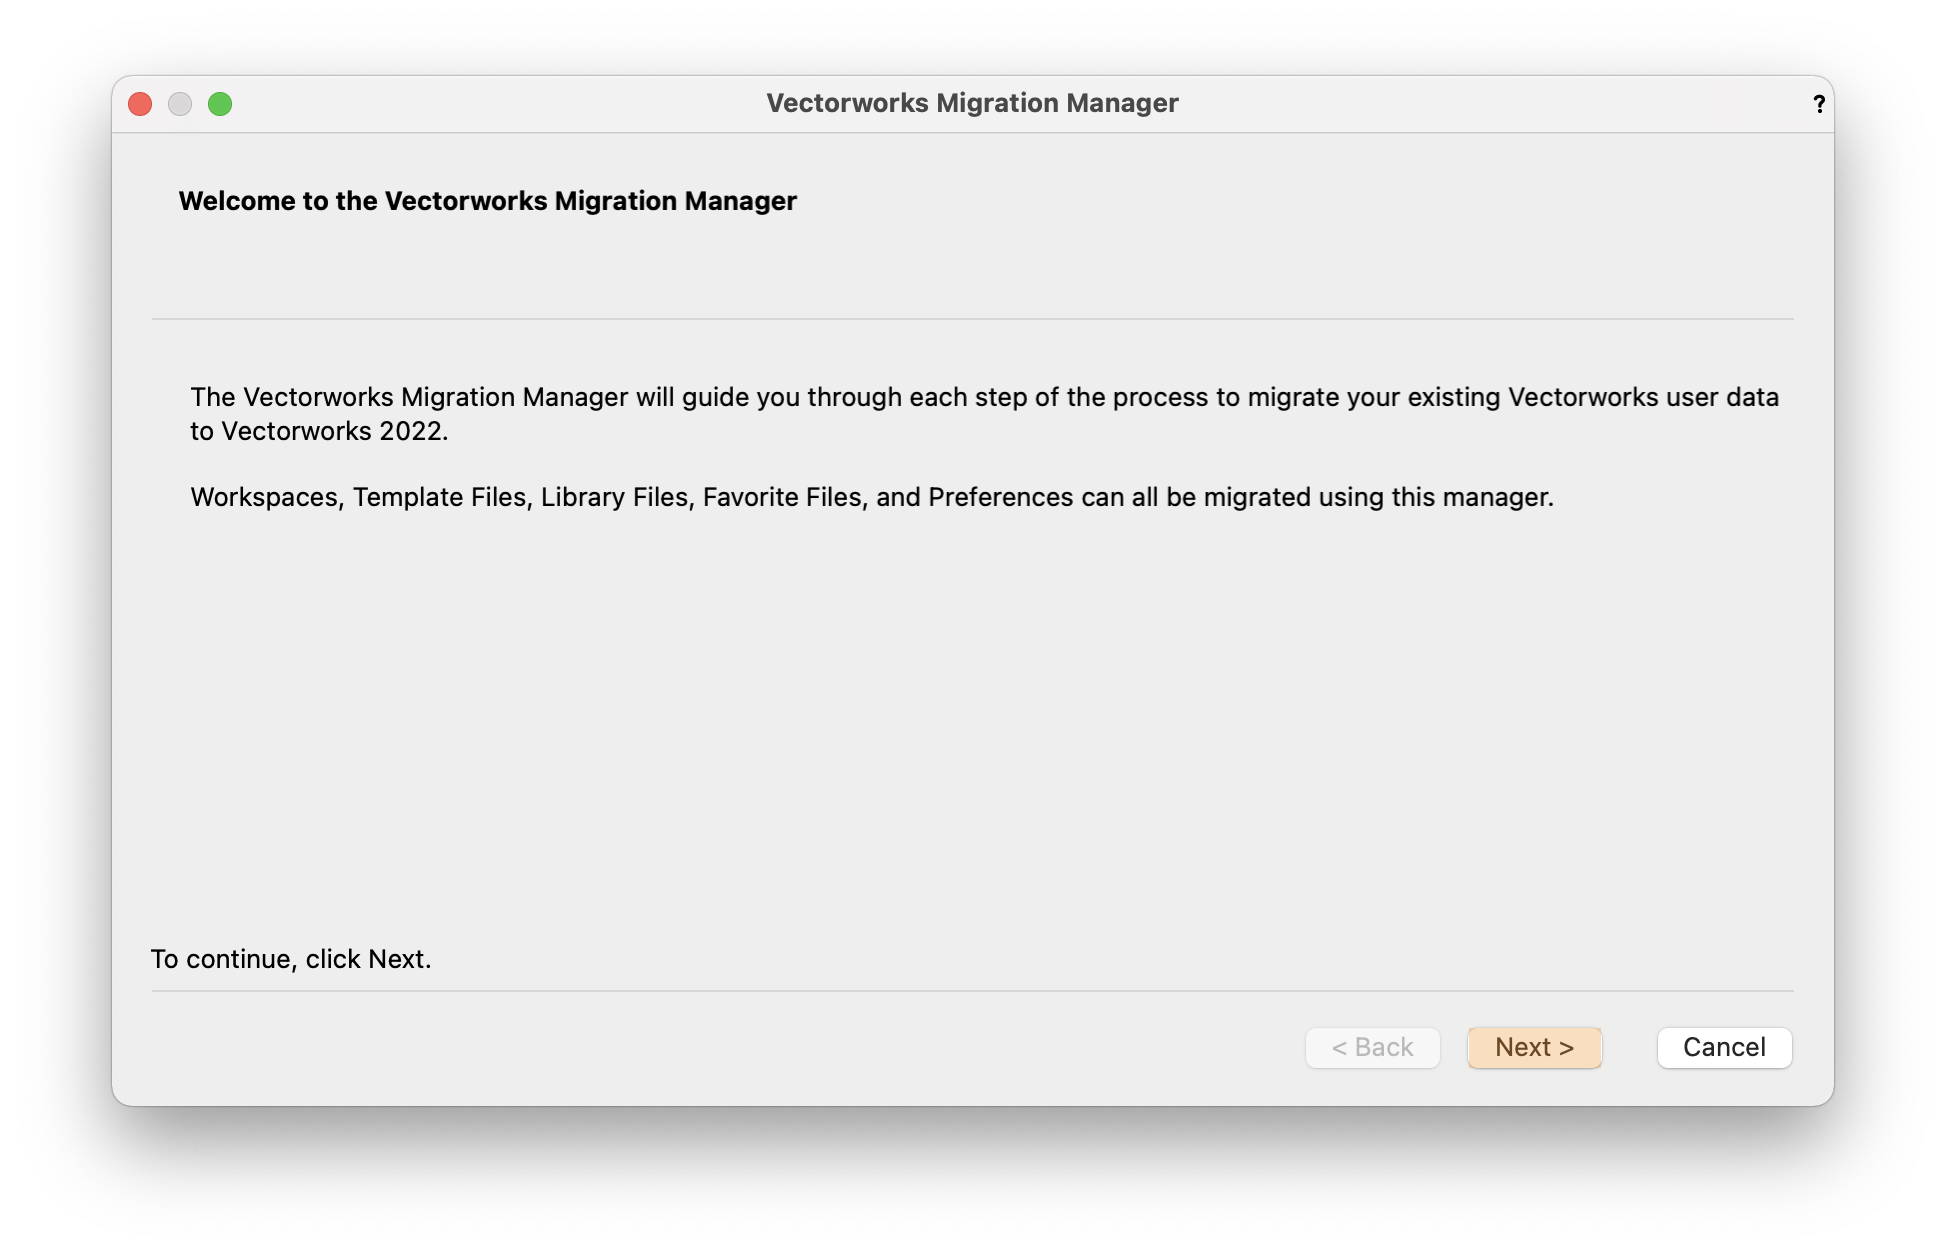
- When you start your new Vectorworks for the first time, a window will appear asking if previous libraries need to be migrated. Click “Yes”. A new pop-up window will open. You can also manually open the Migration Manager via the menu Tools/Migration Manager
- Click Next

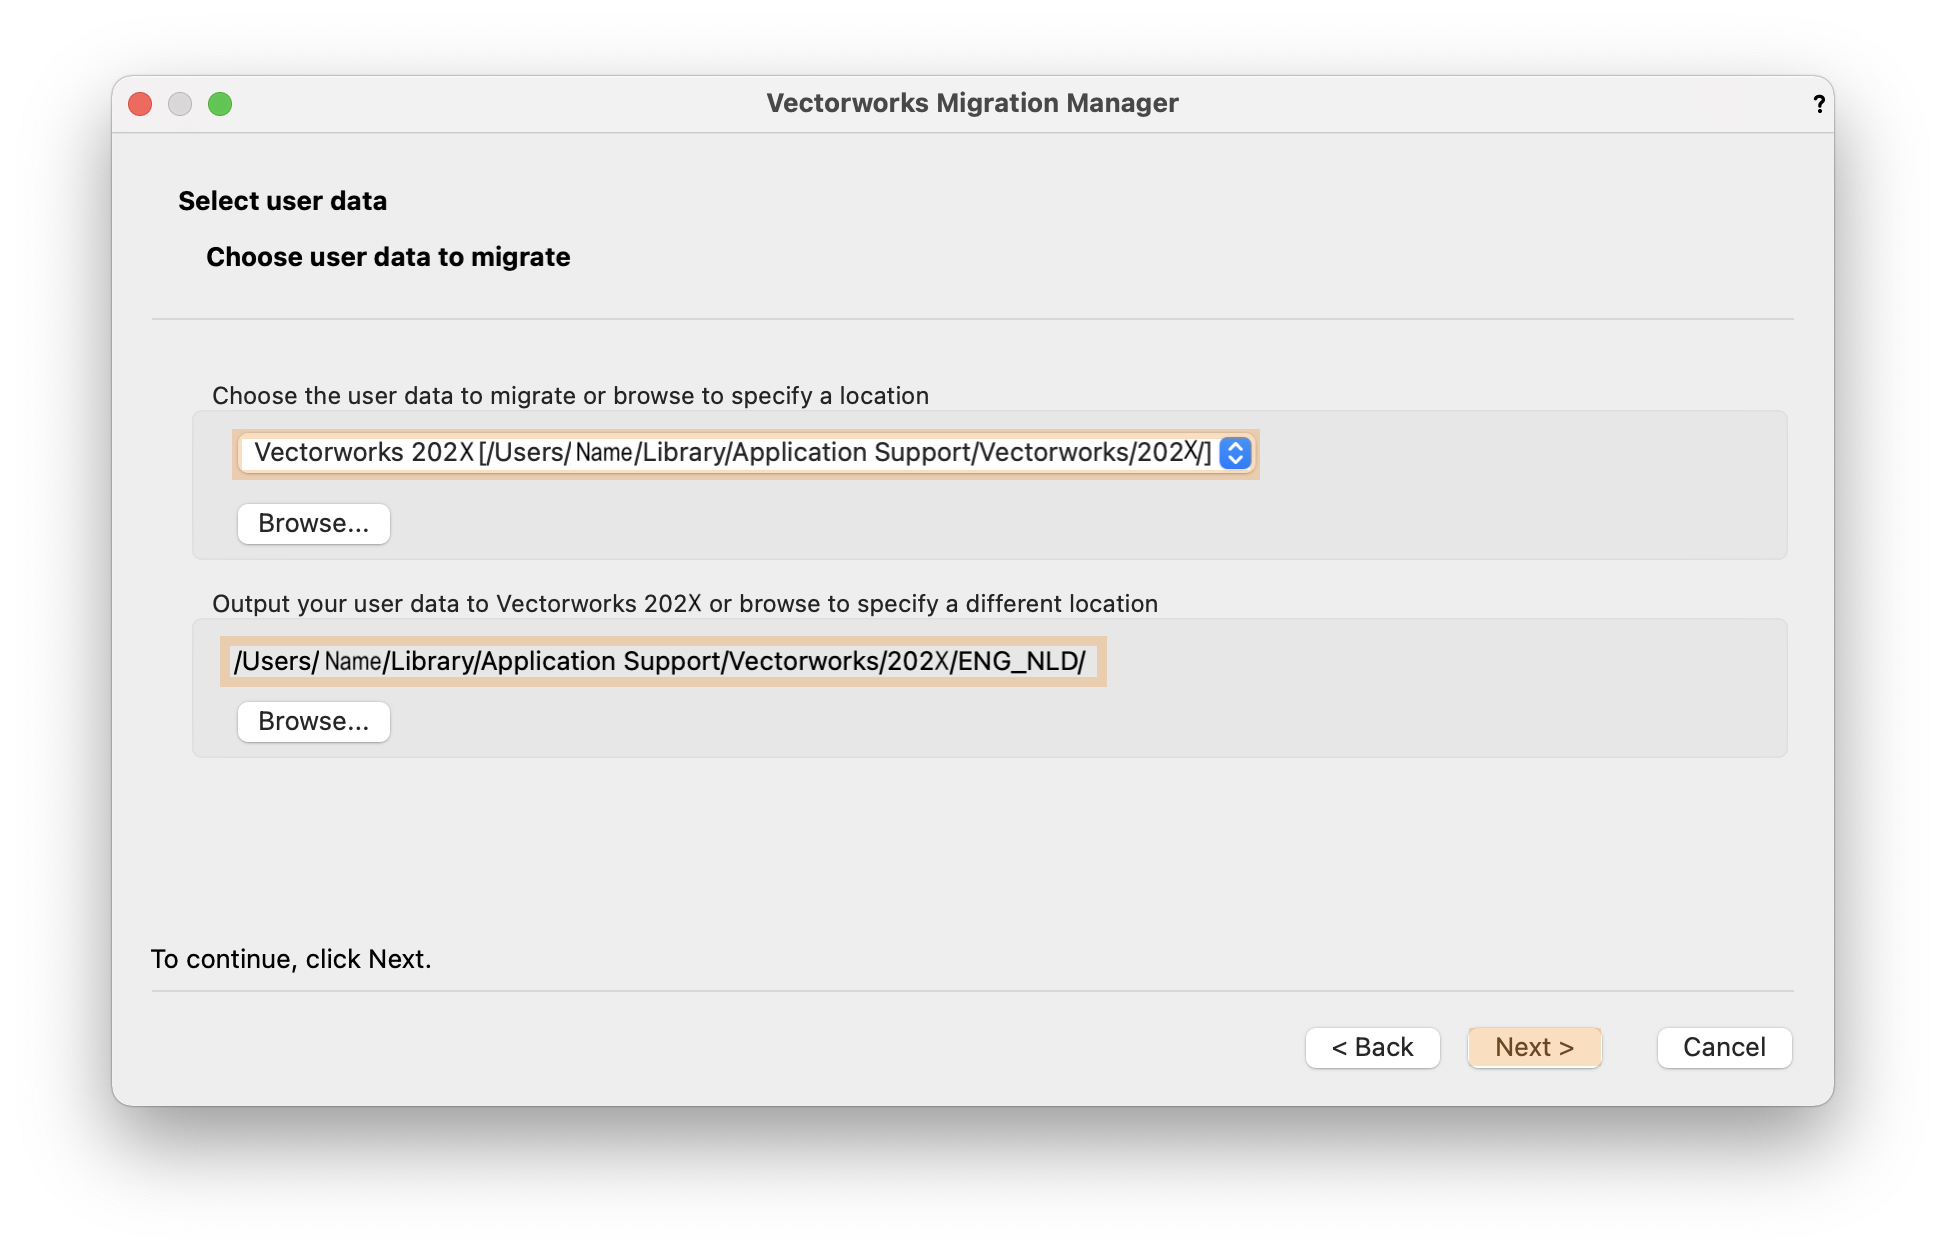
- Select the user folder:
- Windows: C:\Users\ (username) \AppData\Roaming\Nemetschek\VectorWorks\202X\NLD
- MacOS: (Username)\Library\Application Support\Vectorworks\202X\NLD
- By default, the data will be converted to the user directory of your new Vectorworks version. If the migration is to be moved to a different folder, click Browse. Click “Next” again.

- For interiorcad: Make sure that the 3 options under “Insert Module Data” are checked.
- Click Next.
- Clicking “Migrate” will convert all files. Click “OK” when a new pop-up window indicates that documents are product dependent.

- At the end of the migration, a list of all migrated libraries appears. Click “Finish” to end the migration.
- For interiorcad: restart Vectorworks, this will load your materials and fittings to the database.
- In Resource Manager, click the action icon, and then choose the “Update Libraries” option.


