Render an Image
Enscape is designed to allow the process of rendering an image quick and easy, not requiring any user to have an in-depth knowledge of rendering processes and techniques. This means a user doesn’t have to spend a lot of time adjusting a large range of settings to produce a good quality image.
To begin, you must start the Enscape viewport. This can be done by clicking on the Start button located within the Enscape toolbar in Vectorworks.

Once the Enscape window is open and is running you will see the Enscape Viewport toolbar at the top of that window, which means you are ready to start rendering.

If you can’t see the toolbar at the top of the Enscape viewport, then click on the small orange arrow / chevron seen in the middle of the toolbar above, which will expand / collapse the toolbar.
If the Enscape window doesn’t open at all, check that your system meets our recommended System Requirements.
Types of Rendering
In Enscape, you can render a single image or you can batch render a set of images.
For a single image render you can either render the current ‘live’ view, or you can first select a previously created ‘View’ from the View Management feature and then click the Screenshot button. You will then be asked to save the location of the rendered image via the Save Screenshot dialog.

For the Batch Rendering button to become available you will need to have created at least one View via the View Management panel. Having done that, the Batch Rendering button will become available. If no Views are available, this button is grayed out and therefore disabled.

Additionally, you can also Link a View to a Settings Preset as well as Save a screenshot in Virtual Reality. Other export functions include Panoramas, Video, as well as export the project as a packaged Standalone Executable or Web Standalone.

However, before you render your first Enscape image, you should adjust the resolution of your rendering. You’ll find the option to change the resolution under the Enscape Visual Setting’s “Output” tab. You can pick any preset or custom resolution you want (up to 8192 x 8192px), but be warned: using extremely high resolutions may result in the rendering process taking more than just a few seconds – and may even clog your GPU’s VRAM, causing Enscape and Vectorworks to crash or stop responding all together. In such a situation, remember to send feedback to Enscape support who will clarify what caused the crash and provide you with a solution.

In addition to the Screenshot button, you can also use the hotkeys [SHIFT + F11] to achieve the same action. You can set your own hotkey in the General Settings. Input options, under the Hotkeys option, by pressing a modifier key, [CTRL], [ALT], or [SHIFT] in combination with another key.
Furthermore, you have the option to further customize your renderings with a watermark and other options via the Enscape General Settings’ Customization options.
How do I get the best quality in my rendered images?
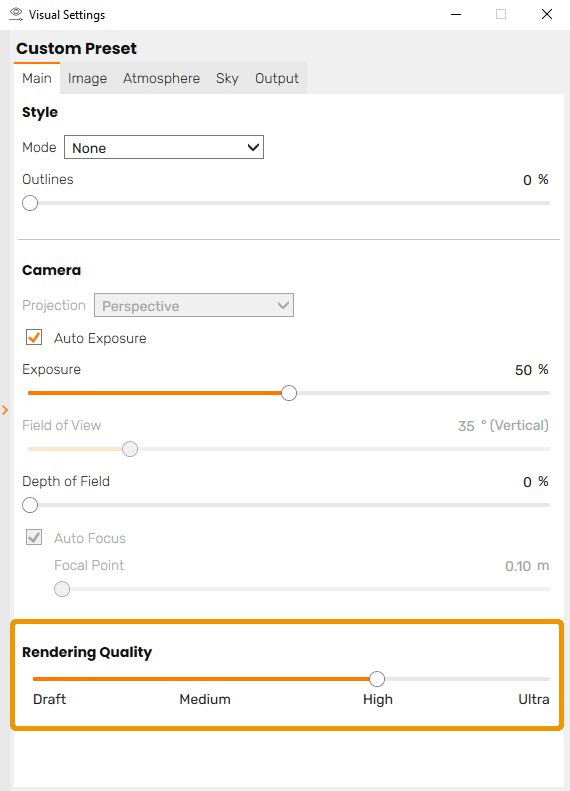
As already mentioned, setting the Resolution to ‘UltraHD’ will give you a high resolution image, but if you then also set the Rendering Quality slider in the Visual Settings’ – Main tab to Ultra, this will give you the highest quality image possible.
However, setting Rendering Quality to High or even Medium is generally recommended when using Enscape in real-time to save on GPU resources. You can adjust this to be higher when it comes to rendering the image out if required. If you suffer from crashes when rendering images out to file from Enscape, then look to lower both Resolution and Rendering Quality to FullHD and High respectively.
All settings (e.g. Fog, Depth of Field, etc.) are the same for both rendered images and real time output.
If Rendering Quality is set to Draft, then there will be no glass reflections in the final render.
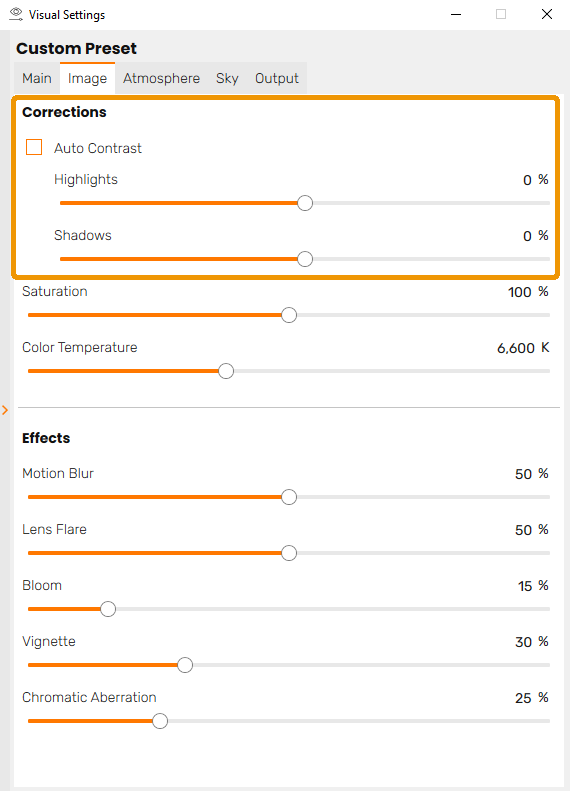
Under the Image tab of the Visual Settings dialog the Auto Contrast setting is disabled by default, allowing you to adjust the strength of the Highlights and Shadows in your render. Enabling Auto Contrast will hide these sliders and apply optimal contrast to the image.

Show Safe Frame
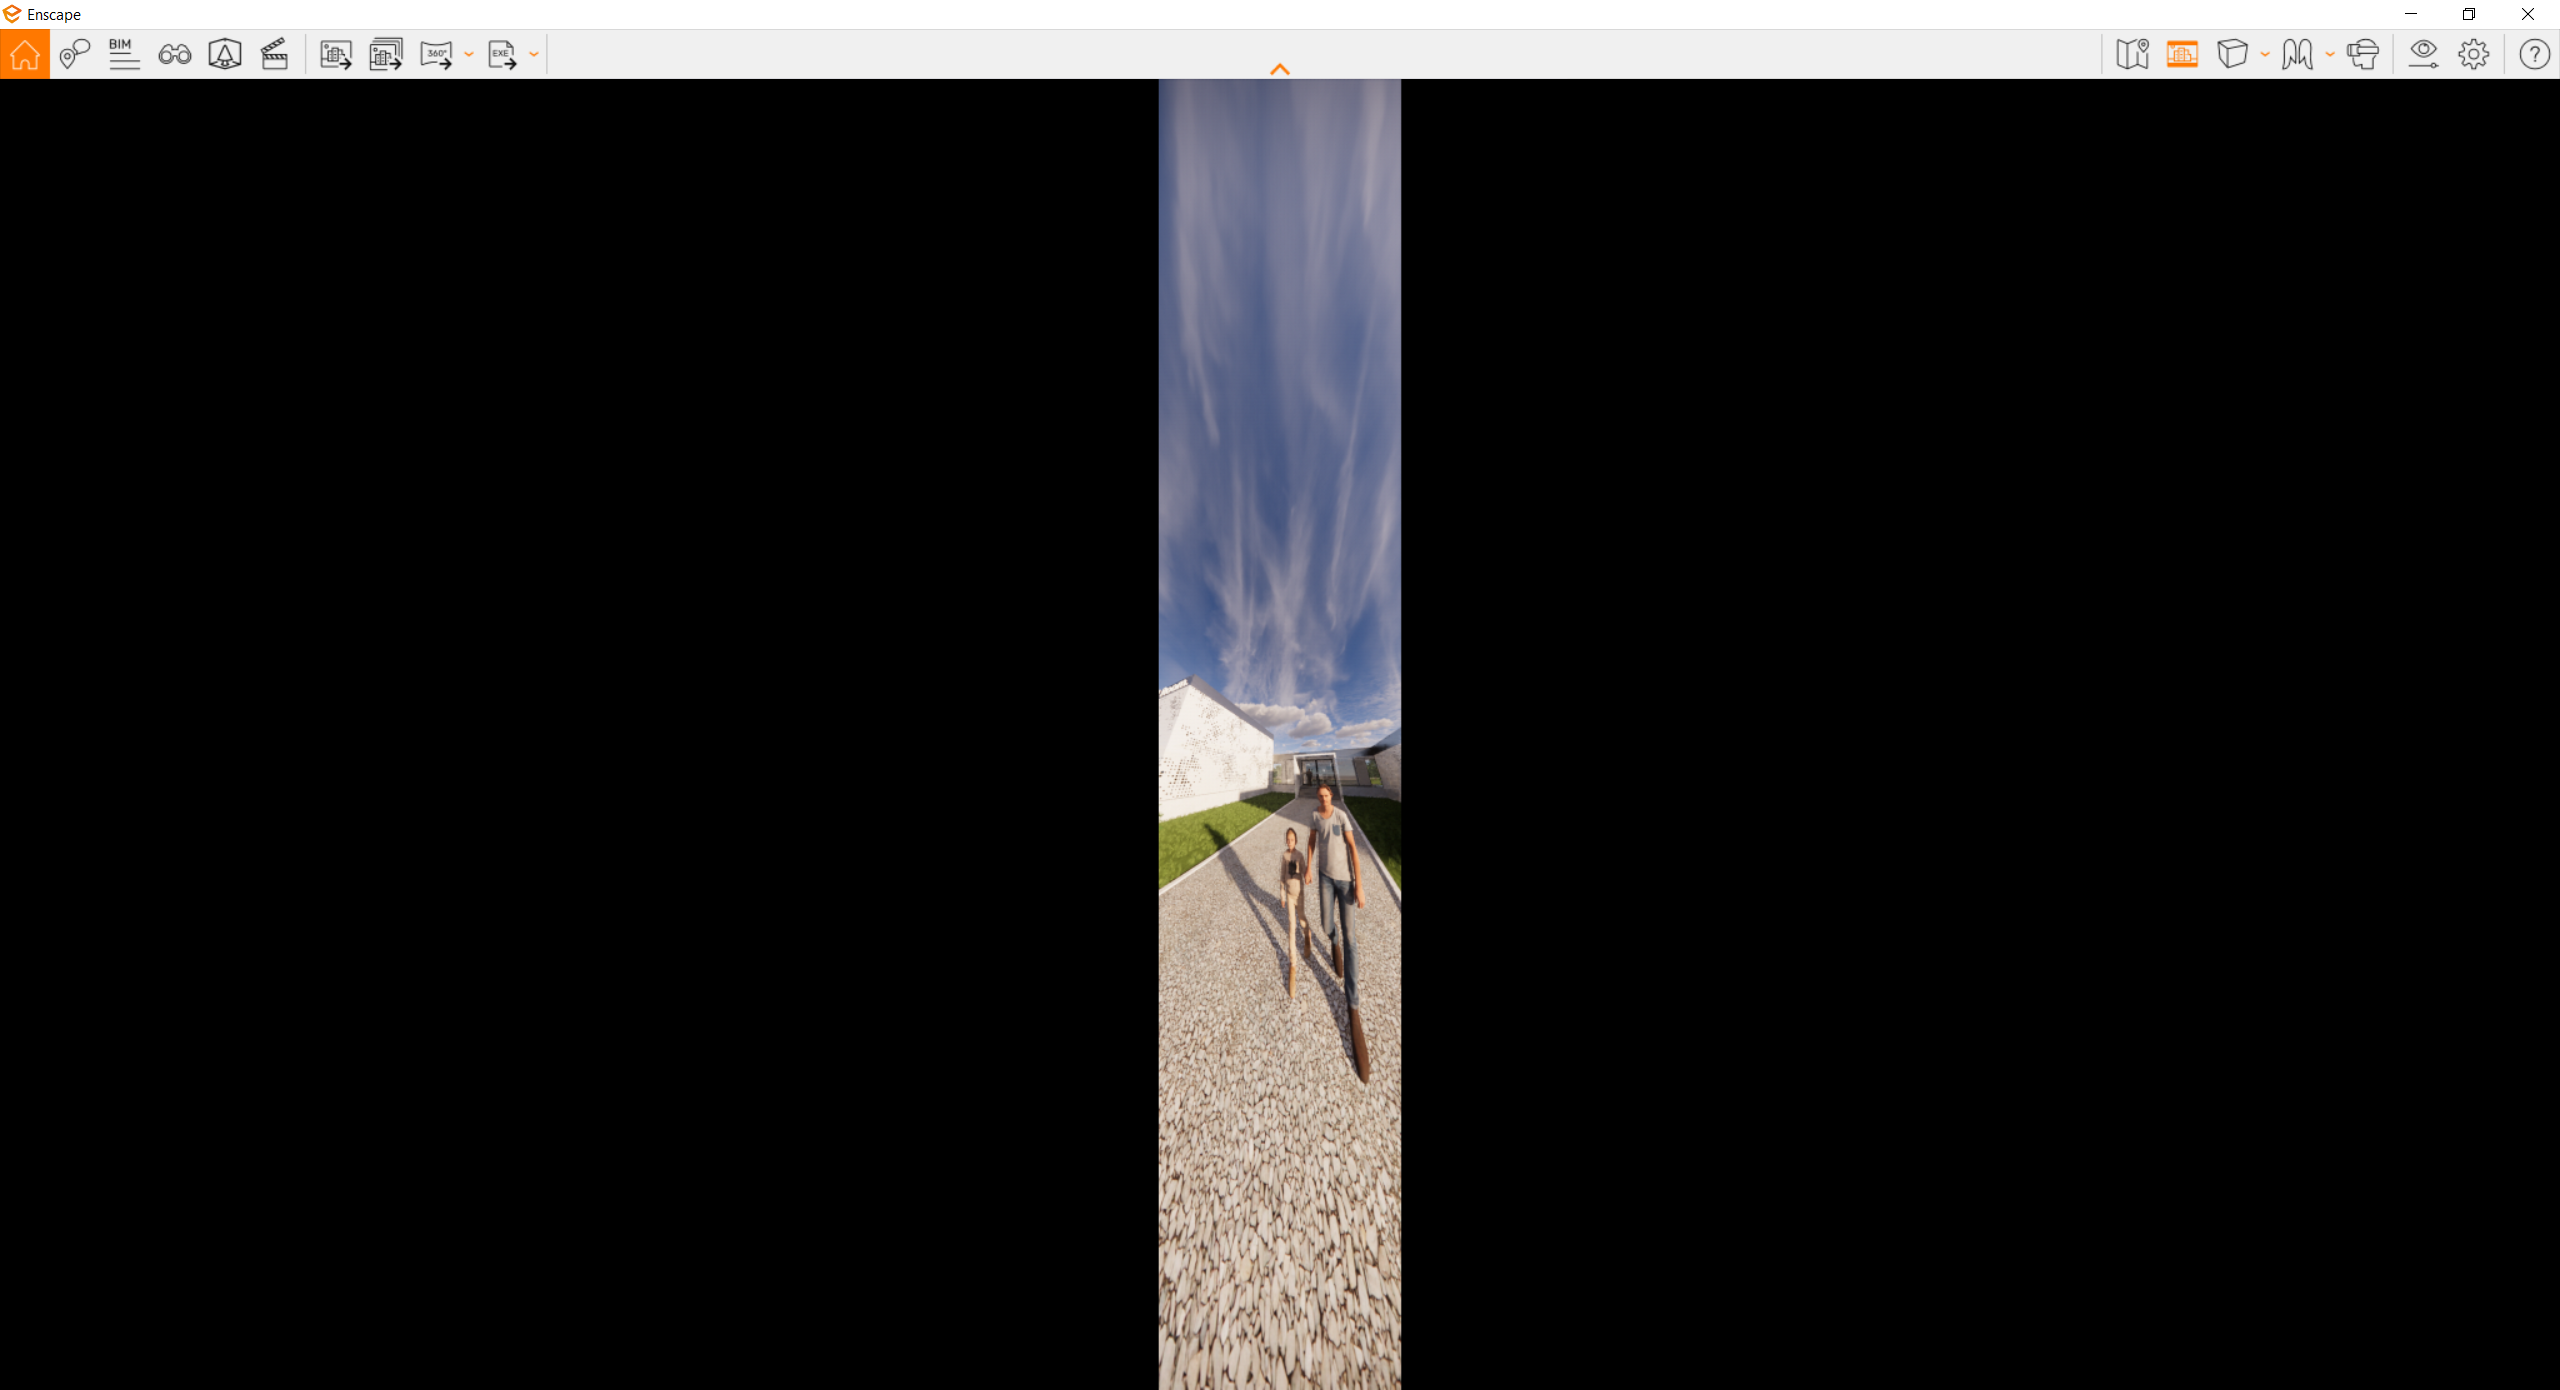
Enscape has a Safe Frame feature, and this can be found in Enscape’s viewport toolbar.
So, you will still be able to navigate your project, as well as edit and preview video in the Enscape window when Show Safe Frame is enabled.In the following screenshot, as way of an example, the Resolution is set to a Custom: 500×2000.

Export Object-ID, Material-ID and Depth Channel
If you’d like to post-process your image in, for example, Photoshop, or incorporate your rendering into a photograph by including a transparent background, a very useful tool is the Export Object-ID, Material-ID and Depth Channel checkbox in the ‘Capture’ settings tab.
When active, Enscape will export four images for each image or View – the rendered image as seen in the Enscape window itself, a second image that’s graded from white to black, depending on the distance from the camera (Depth Channel) and third and fourth rendering that assigns a distinctive color to each object (Object-ID), material (Material-ID), :

You can use the Object-ID and Material-ID image to post process parts of your image. Let’s say you’ve closed the project, all renderings are done, but you realize one element looks too dark. Instead of having to reopen and recreate everything, you can simply create a mask using that specific color, allowing you to post process only that part of the image.
Additionally, the black background can be used as an Alpha channel to conveniently extract your actual model and place it in a photograph, although you may find it easier to use the Apply Alpha Channel option instead.
The Depth Map can be used to apply depth-related effects to your rendering.
All of these actions can be performed in many advanced image editing software – Enscape only delivers the renderings.
Alpha Channel Export
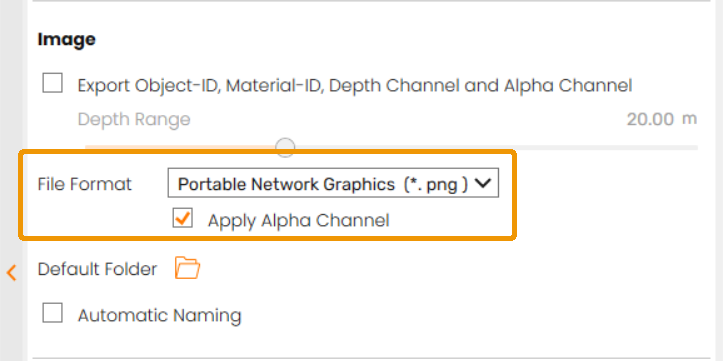
It is also possible to export images with an embedded alpha channel. This feature is only available when setting the file format to either .png, .exr, .tga.To enable an image to be exported with an embedded alpha channel, make sure the checkbox for Apply Alpha Channel is checked.The Alpha Channel export also includes information for transparent and semi-transparent materials. This means that if the sky is visible behind a semi-transparent surface, that background (sky) will be removed, without losing the reflection of the objects located in front of the surface.
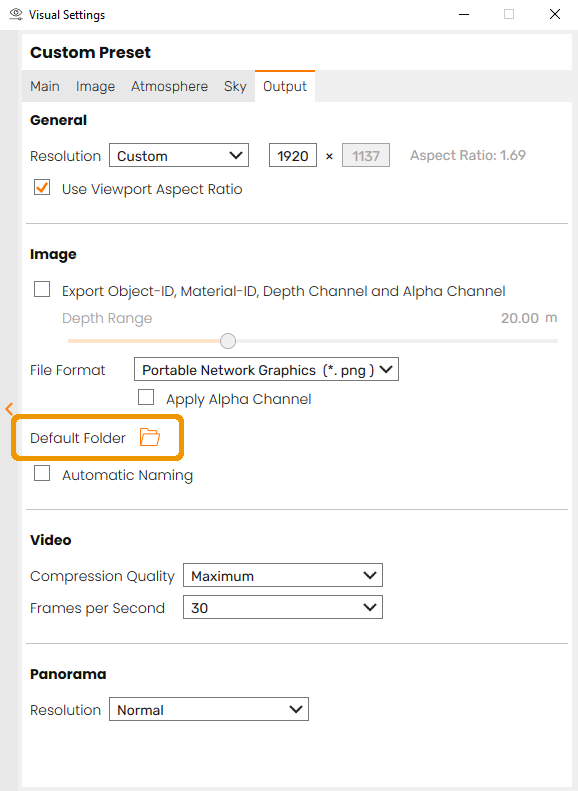
Default Folder
If you specify a Default Folder location in the Visual Settings’ Output tab, using the Screenshot will open the Save Screenshot dialog at that specified location. It is therefore still possible to change the location on the fly.When using Batch Rendering, the action is the same, unless you link a named View to a Setting Preset, in which case, the location that each named View is rendered out to is dependent on the location specified in the linked Setting Preset.This means you can assign each named View an individual and specific location when Batch Rendering.

Automatic Naming
Enabling the Automatic Naming in the Enscape Visual Settings’ Output tab will rename the file appending it with the date and time for single images and appended images also with the named View when Batch Rendering.
Batch Rendering
Batch Rendering of images takes place when you click the Batch Rendering button.


